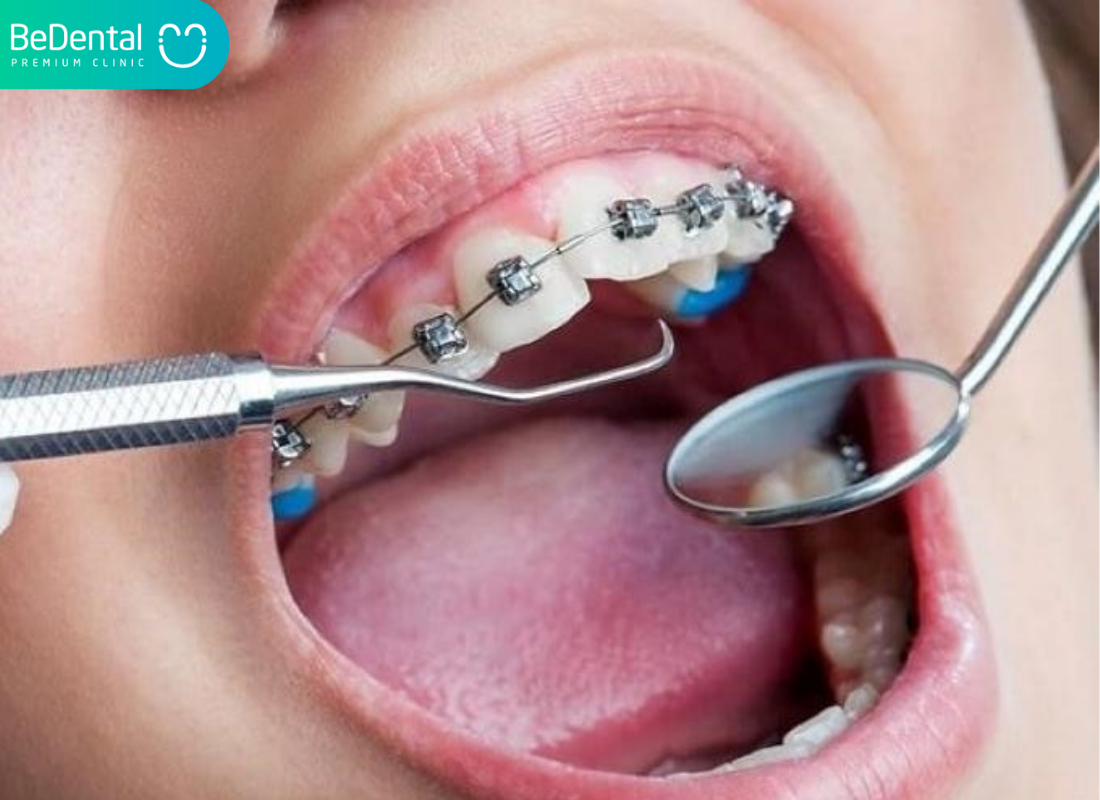
It’s crucial to clean water flosser. To extend the lifespan of your water flosser, regularly clean it. With water flossers, mineral deposits, mildew, and other debris can build up, slowing them down and degrading their performance. Ideally, you should disassemble your water flosser once a month and thoroughly clean every part of it before reassembling it. Today, we’ll show you how to clean a water flosser in just a few simple ways.Cleaning water flosser
Cleaning water flosser
Please note that the following is basic advice that mostly pertains to Waterpik water flossers. To make sure the procedures follow the manufacturer’s instructions, always review the user handbook for your product. If not stated differently, unplug the flosser from the power source before cleaning.
How To Clean Water Flosser: At A Glance
- Clean the outside of your Waterpik every time you clean your water flosser (you can do this more than once a month)
- Clean the water reservoir
- Clean the internal components of the Waterpik
- Clean the handle (if you have a countertop model)
- Clean the tip of your water flosser
How To Clean Water Flosser: The Step-By-Step Method
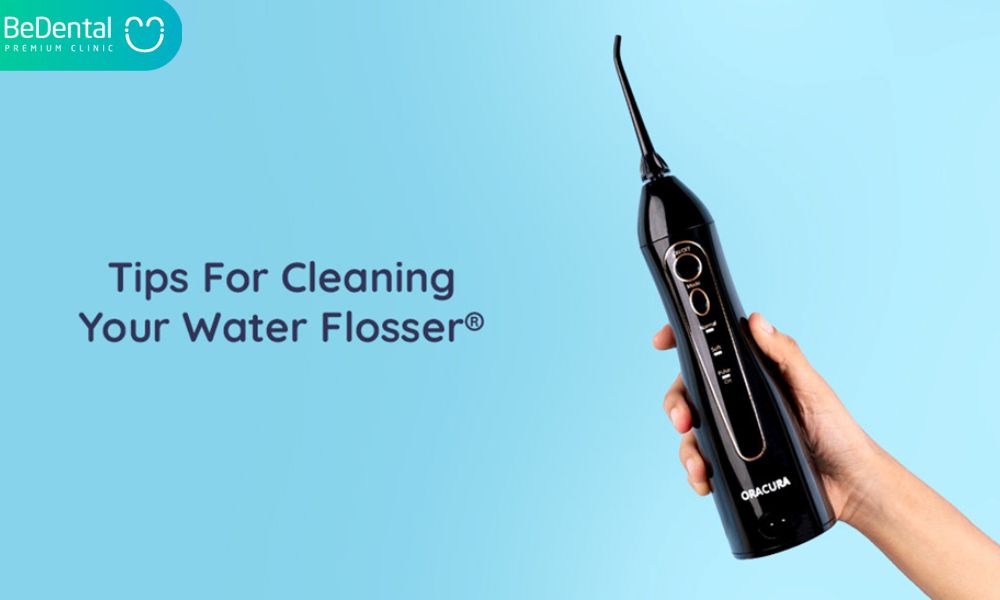
Cleaning The Outside Of The Waterpik
You can clean the outside of your Waterpik more frequently than once per month because it is so easy to do. All you need for this is a soft cloth and a mild, non-abrasive cleanser.
Cleaning The Water Reservoir
To learn how to remove the water reservoir from the device, consult your user manual.
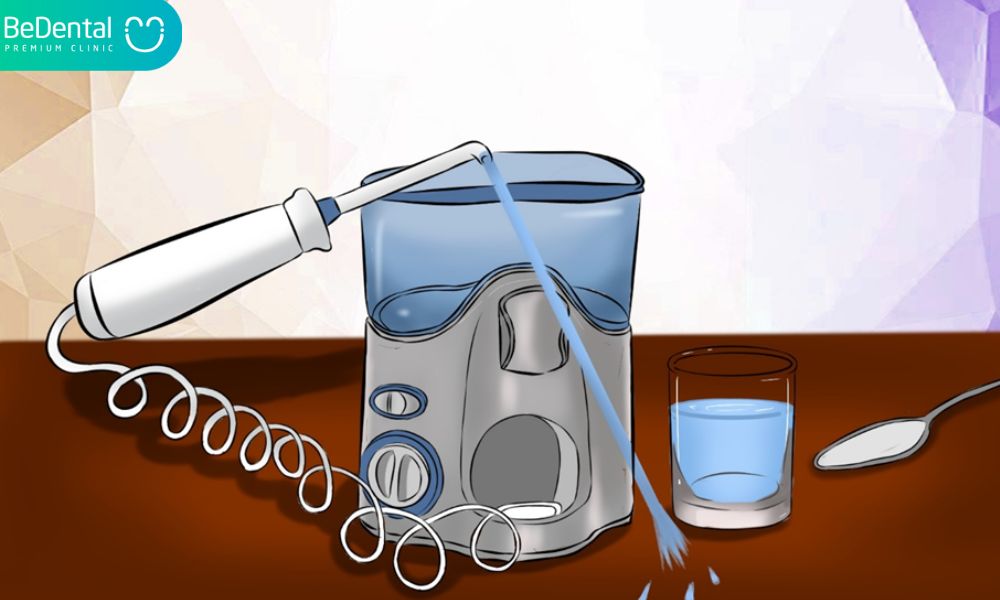
You must also take the valve out of a countertop model. Pushing on the bottom of the valve will accomplish this. 30 to 45 seconds under running water should suffice.
Your dishwasher’s water reservoir can be cleaned, after which you should let it air dry. The water reservoir can also be cleaned with warm, soapy water.
If you removed the valve, remember to reinstall it.
Cleaning The Internal Components
Run your Waterpik through once or twice tablespoons of white vinegar in water, up to the point where the water reservoir is empty. Next, give it a clean water rinse.
Clean The Handle (Countertop Models Only)
To remove the tip from your Waterpik, press the eject button.
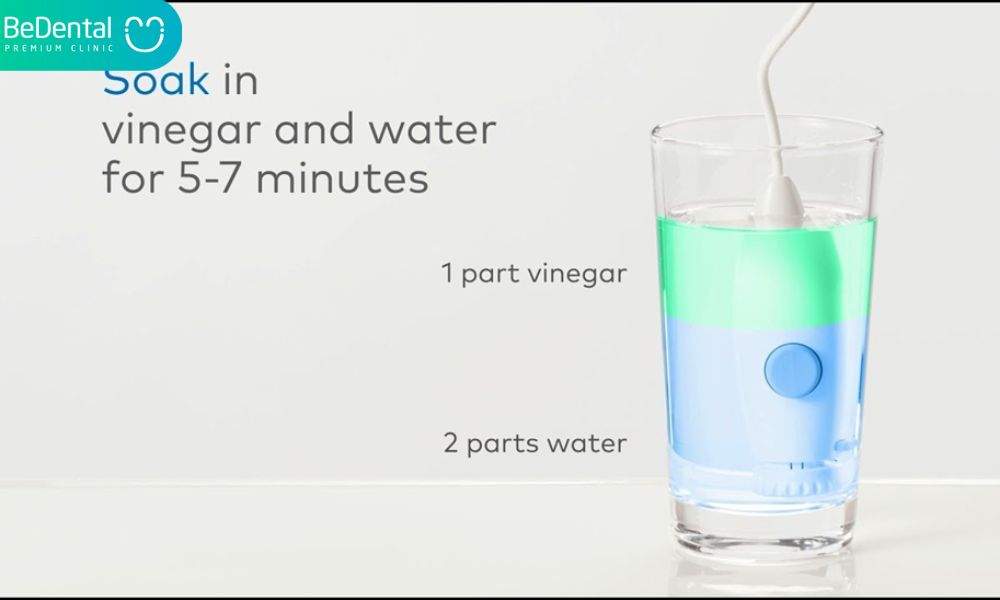
White vinegar and two parts water are combined to make a solution that you should soak your Waterpik handle in. For five to seven minutes, let it soak in the solution.
Cleaning The Flosser Tip
Two minutes should be spent soaking your Waterpik tip in a mix of two parts water to one part hydrogen peroxide or white vinegar. Before removing the Waterpik tip and rinsing it with cold water, give it five minutes to soak in the solution.
Replacing Your Waterpik Tip
The tips of water flossers need to be changed every three to six months. Over time, you might notice that the water pressure varies, which makes using your Waterpik a little more challenging. This is because it’s possible for mineral deposits to build up in the tip and make replacement necessary.
Waterpiks water flossing cleaning advice
Waterpik, the industry’s top producer of water flossers, has created a video that demonstrates the proper cleaning techniques for its water flossing devices.
The procedure is largely demonstrated, but it’s excellent to see a real-world example of how it works.
Your opinions
Do you have any further cleaning instructions or ideas for people who own Waterpik water flossers?
Have you have a query that hasn’t been addressed?
Please post any comments or inquiries below.
More
Tooth Discoloration and 3 Types of Tooth Discoloration
Teeth cleaning and 3 main concerns
Bad Breath and 6 Common Questions
Coffee In Moderation and Its Dental Effects
Dental in Vietnam and Top 5 Clinics


